
Free tools
Calculators that also tell you where they stop working.
Eleven tools for a cyclist’s basic decisions, ordered by the decision they resolve rather than by the order they were built. Every one returns a number, and every one explains where that number comes from, with what margin of error, and at what point the formula stops answering and the real body has to be measured. That second part is the one that almost never appears, and it is what stops you applying a figure that was never yours.
They run in your browser. Nothing is sent, nothing is stored and there is no sign-up.
Three tools
Position on the bike
The three points where the body touches the machine, and the geometry that holds them. This is where most discomfort lives, and where changing one thing drags the other two along.
Free
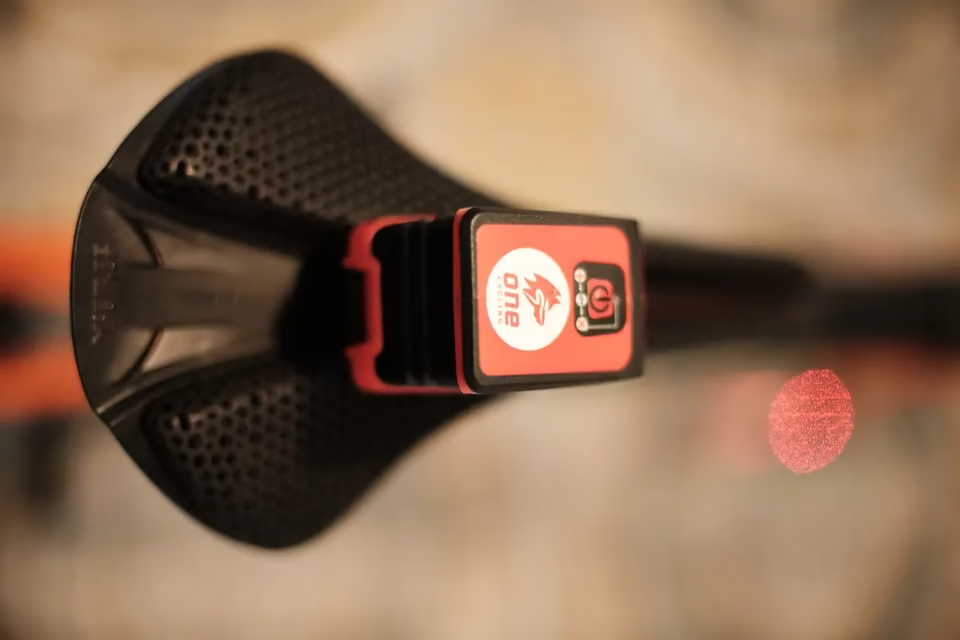
Saddle height
The classic formulas with their real margin, and the range to search within while pedalling.
- LeMond method (0.883 × inseam)
- Hamley method (109 % of inseam)
- Conversion between references according to crank length
Free
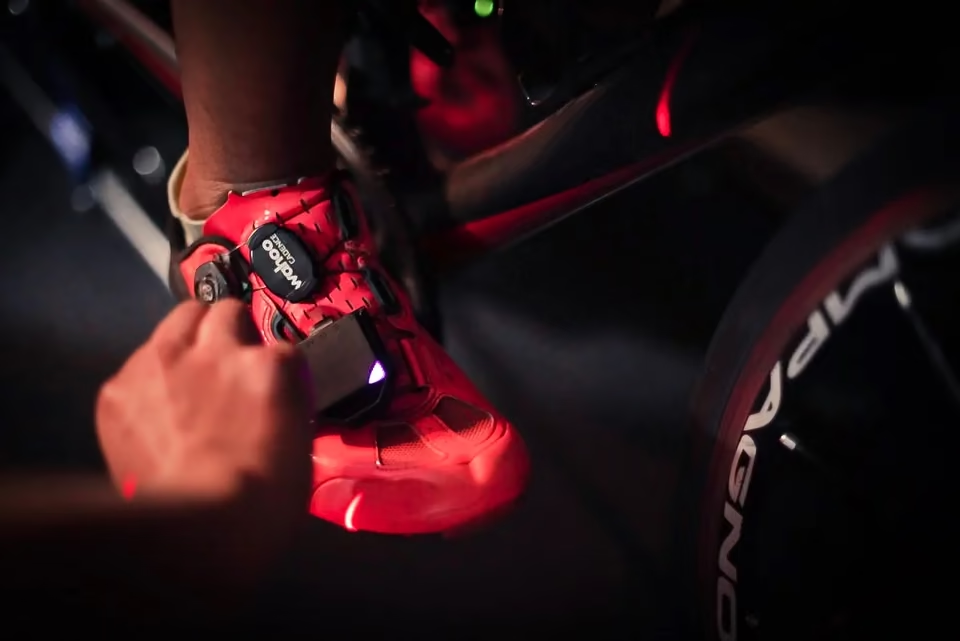
Cleat position
Fore-aft, rotation and stance width for each cleat, foot by foot.
- Pedal axle fore-aft range from your own metatarsal line, not from shoe size
- Cleat rotation referenced to your natural foot angle and the float available
- Stance width, with a warning when the cleat track no longer reaches
Free
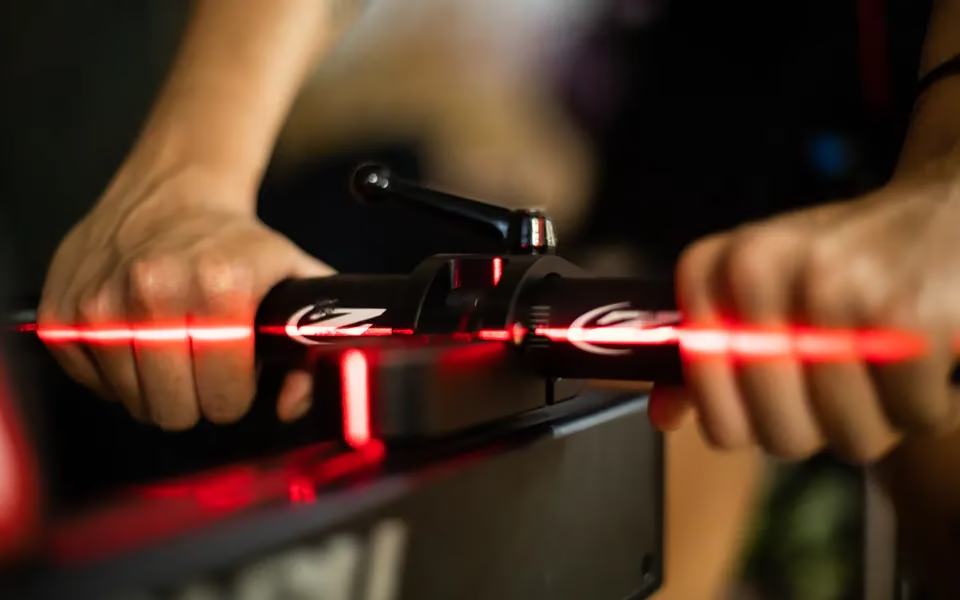
Target stack and reach
From your position to the frame geometry that reproduces it.
- Target stack and reach from your current coordinates
- Search window with the margin you choose
- Stack to reach ratio, and what frame shape it implies
Two tools
Equipment and gearing
What the wheel and the drivetrain decide: how much pressure your weight takes without punishing you on the surface, and whether the sprocket you are carrying is enough for the ramp ahead.
Free
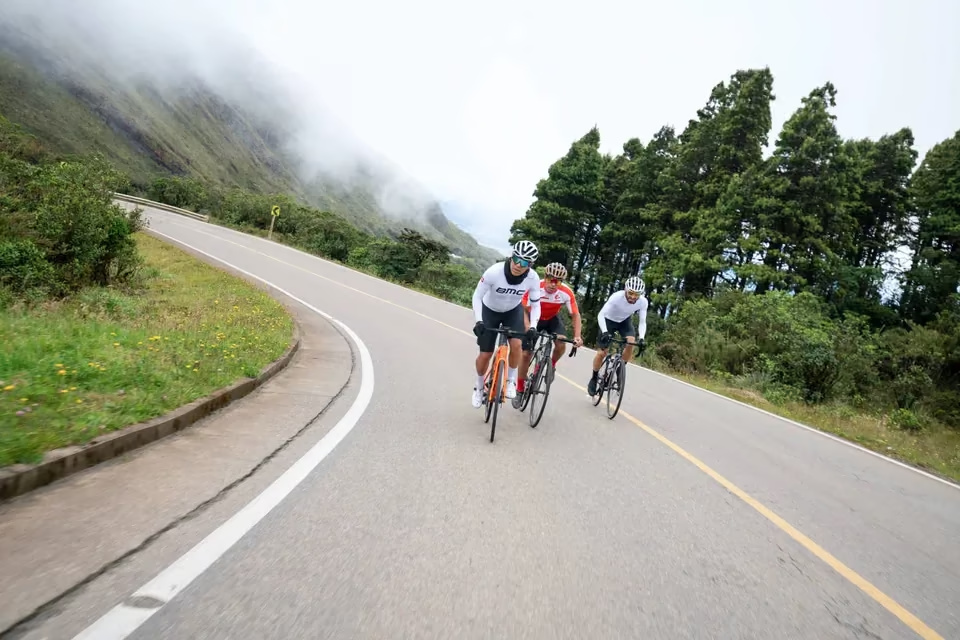
Gearing and cadence
What speed each gear gives, and whether it is enough for the ramp.
- Speed per chainring and sprocket combination at the cadence you choose
- Check on whether the gear is enough for a specific gradient
- The sprocket you would need when it is not
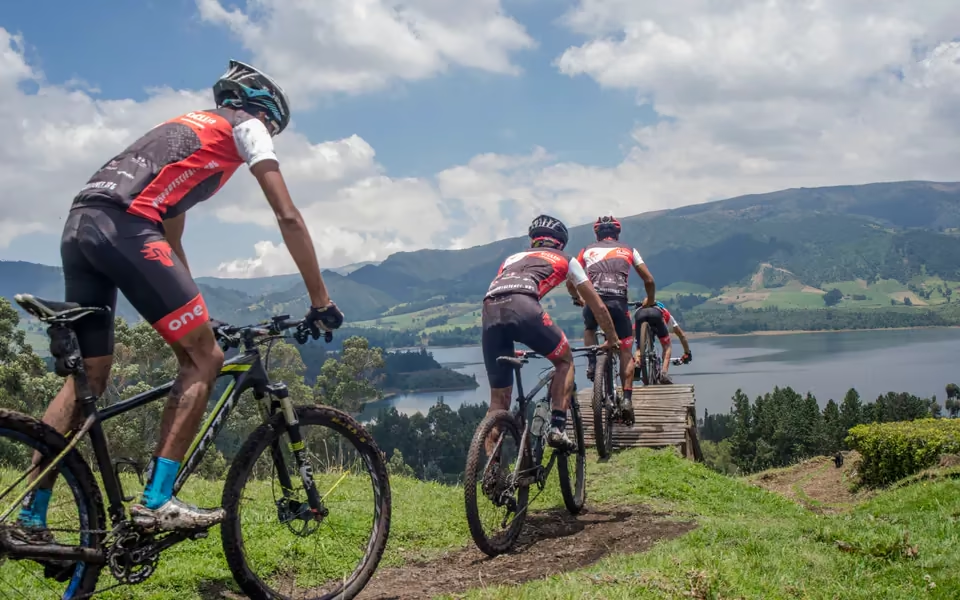
Free
Tyre pressure
Front and rear pressure from weight, tyre width and surface.
- Independent pressure for front and rear wheel
- The 15 % tyre drop method (Berto)
- Adjustment for surface and for tubeless setups
Four tools
Training and load
What intensity you train at, how far you have climbed above your own average, and what it costs you to do it at 2,600 m instead of at sea level.
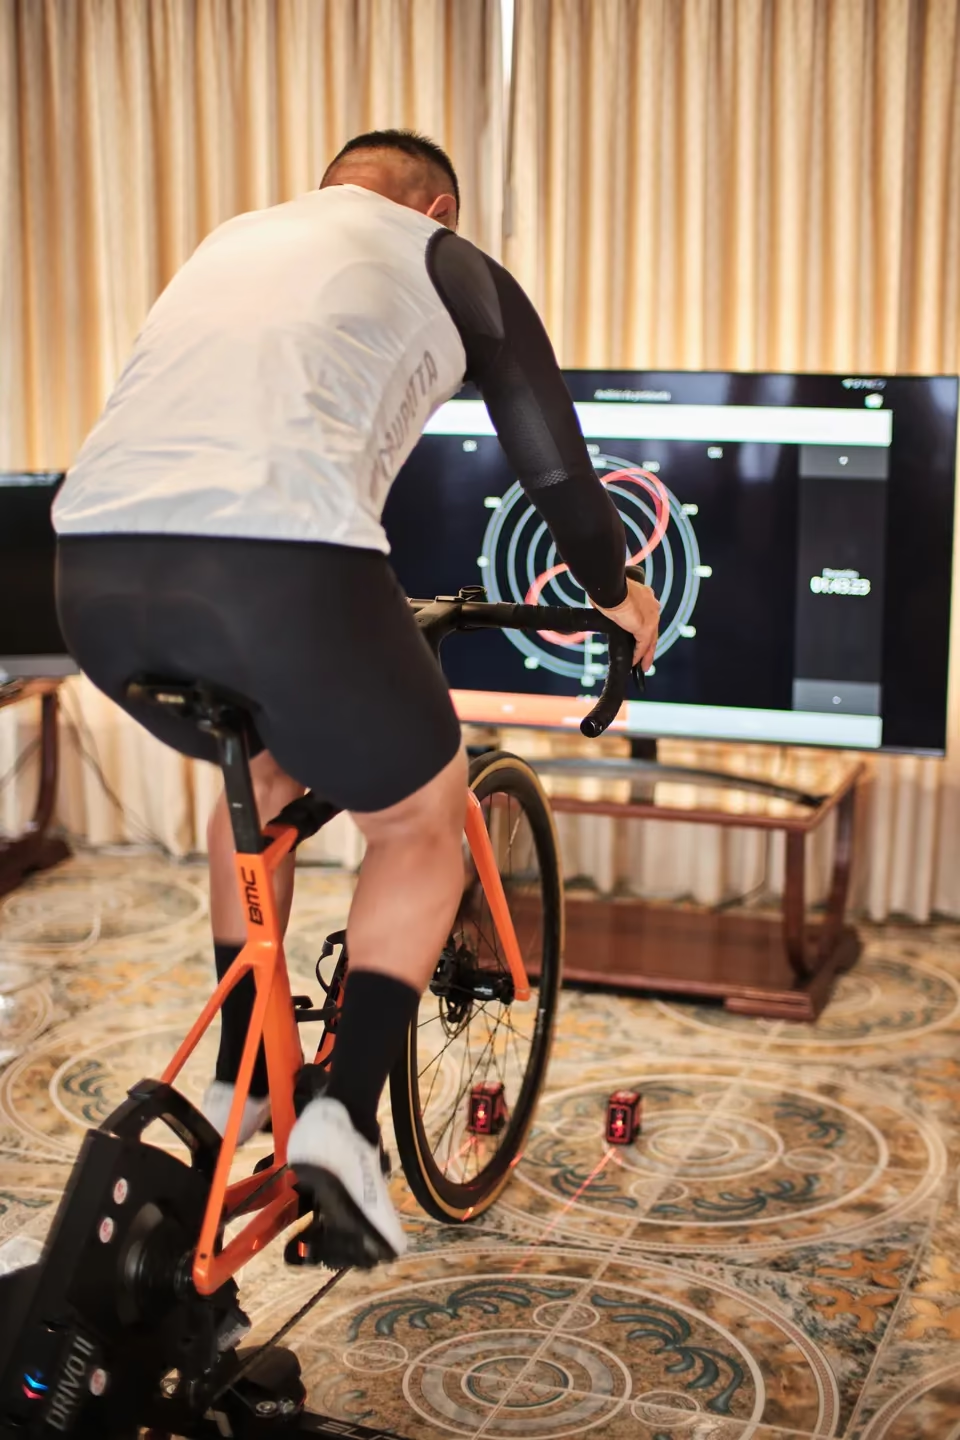
Free
Training zones
Your zones in watts and beats, from FTP and threshold heart rate.
- Seven power zones anchored on FTP
- Five heart rate zones anchored on threshold heart rate
- Three-zone model built on physiological thresholds
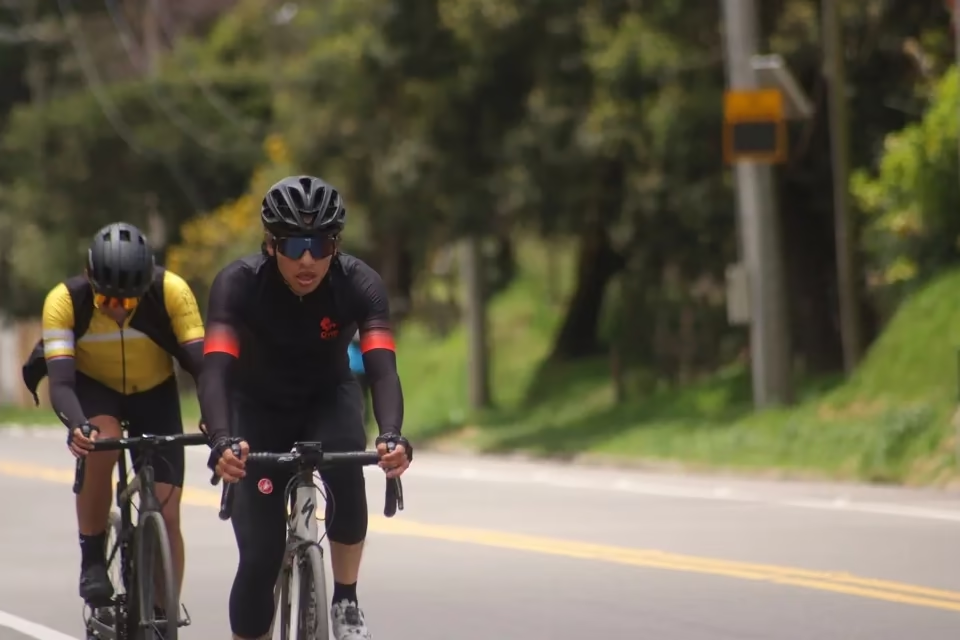
Free
Acute versus chronic load
How far above your own average you have climbed, and why this is not a traffic light.
- Ratio between 7-day load and the 28-day average
- Reading bands with what each one implies
- Works with TSS, hours or kilometres
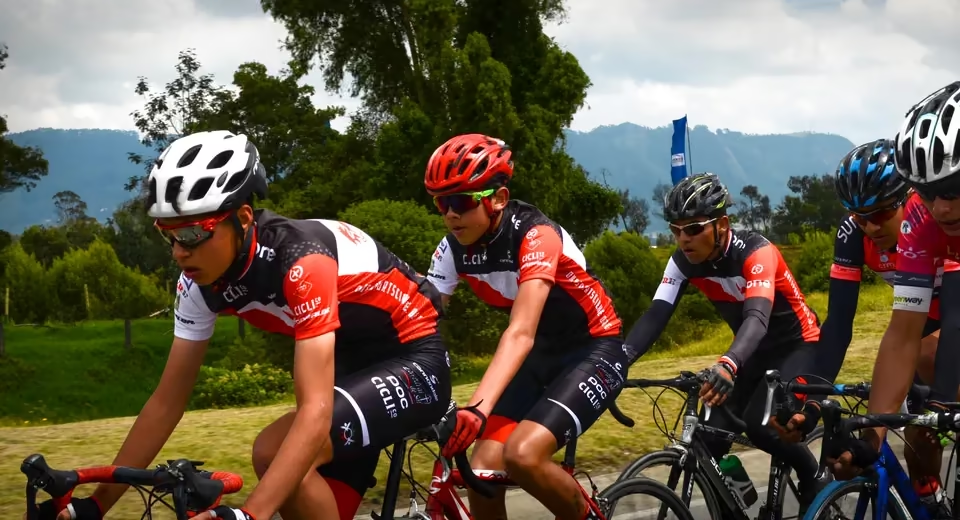
Free
Performance at altitude
What altitude costs you in power, and how much acclimatising gives back.
- Estimated FTP loss for the destination altitude
- Conversion between altitudes, in both directions
- Partial recovery according to days of acclimatisation

Free
Watts on Alto de Patios
The power your target time asks for, with the real air of Bogotá at 2,600 m.
- Power needed for a target time
- Estimated time from a sustainable power
- Air density of Bogotá at 2,600 m, not sea level
And one more, for fun
The Alto de Patios Challenge
A simulator with the real physics of the climb. Ride it to the top and you leave with your power and heart rate zones, an estimate of VO₂ max, MAP and FRC, and a tyre pressure reference, all exportable as CSV.
The challenge itself is in Spanish.
Play the challengeTwo tools
Nutrition and body composition
How much carbohydrate, fluid and sodium the ride ahead asks for, and what body composition indices do — and do not — say about a trained cyclist.
Free
On-ride nutrition
Carbohydrate, fluid and sodium per hour for the ride you are about to do.
- Carbohydrate per hour according to duration and intensity
- Fluid per hour adjusted for temperature and sweat rate
- Sodium per hour according to sweat type
Free
BMI and body composition
The three indices, ordered from the least to the most informative, with their reading.
- BMI with the caveat that applies to a trained athlete
- Waist-to-height ratio, a better risk indicator than BMI
- Sum of six ISAK protocol skinfolds, to follow a process
Where a formula ends
None of these tools has ever seen you pedal.
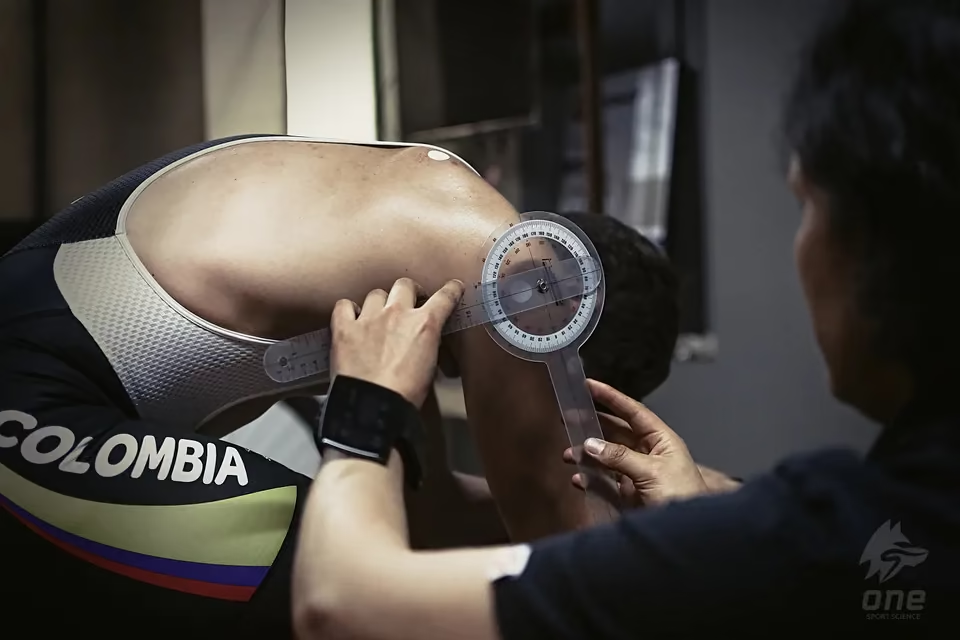
A formula works with two or three numbers. An assessment works with your femur-to-tibia proportion, your hip mobility, your side-to-side asymmetries and what your pelvis does after forty minutes under load. When the figure is not enough, that is what comes next.