
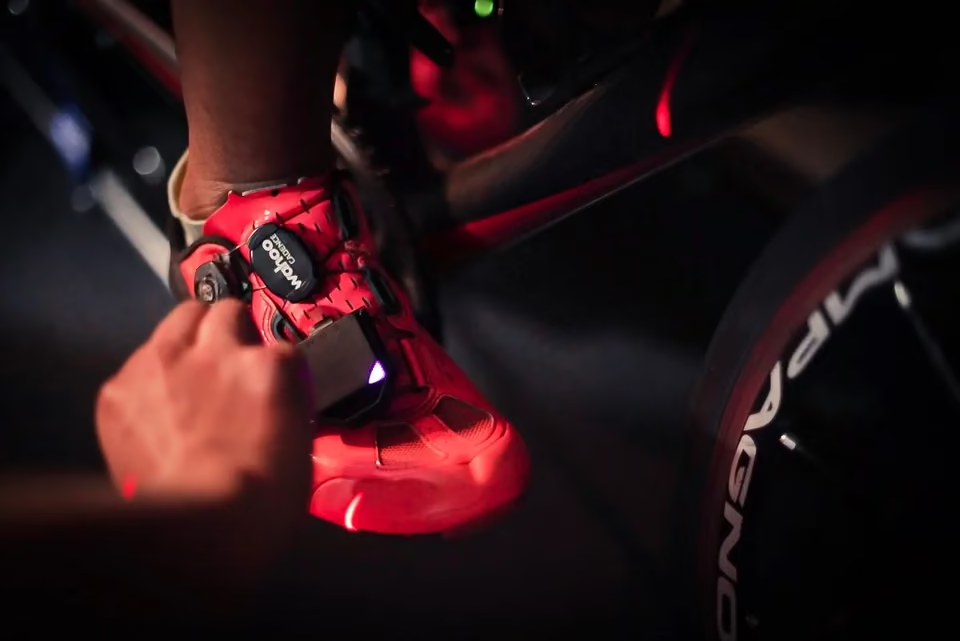
Cleat alignment with a laser guide during a BIKEFIT

Summary

Cleat position

Free calculator · Position on the bike

Where to start each cleat from your own foot anatomy: fore-aft, rotation, stance width and the asymmetry between one foot and the other.

What you need
The length of your foot and where the first and fifth metatarsal heads fall, measured foot by foot. The difference between the two feet is part of the result, not a measurement error.
What it gives you

The fore-aft position of each cleat relative to the metatarsal head, in millimetres.

A starting cleat rotation and stance width based on your foot measurements and natural foot angle, to be checked while pedalling.

The asymmetry between one foot and the other, written down instead of split evenly.

5.0 on Google from 66 public reviews, verifiable on the laboratory listing.
All calculators

Free tool

Cleat position calculator

Your two feet measure differently, point differently and have their metatarsal line in different places. This tool starts from the anatomy of each foot separately and returns a starting range for fore-aft, rotation and stance width. The result is a range because the most recent systematic review on cycling position found no settled recommendation for the cleat. On the drawing of your own shoe you can also drag the cleat wherever you want and see where it lands.

It runs in your browser. Nothing is sent, nothing is stored and no sign-up is needed. If you use the buttons below the calculator, the message is written here and opens in your own app: you decide whether to send it.

Calculator

How you use the bike

Start from the case that looks like yours and refine below. The shortcuts move discipline and priority; the pedal system and the symptom are yours to set, because they are data and not preferences.

Right foot

Barefoot and standing, with your weight evenly spread. The three middle measurements are estimated from the length until you type them in, and while they are estimated the result says so.

From the heel to the longest toe, standing on a sheet of paper.

Degrees outwards. Sitting with your legs hanging, look at where the relaxed foot points.

The inner bump, the bunion one.

The outer bump. It always sits behind the first.

From bump to bump, at the widest point.

Left foot

Measure it separately even if it looks identical. The difference between sides is half the value of this tool.

Your current setup, if you know it

With this the tool works out how far the cleat would have to move.

Starting range, foot by foot

Where that lands on your shoe

Seen from above and in the order you see your own feet: the left one on the left. Drawn to the real scale of your measurements. The red band is the recommended range and the dark line joins the two metatarsal heads.

The cleat moves. Drag it on the drawing or use the three controls below to shift the pedal axle, open or close the stance width and rotate it, and see where it lands before you touch a bolt.

Symmetry and confidence in the result

    What this calculation cannot see

    With your data, this is what is left to check while pedalling

      Your pedal system

      Characteristics of the selected pedal system
      VariableWhat your system gives

      What to move, and in what order

        Take the result with you

        Send us this calculation and we will tell you what to do with it.

        The button writes the message for you: what you entered, what came out and the name of the tool. It opens in your own app, already written, and you decide whether to send it. Nothing leaves this page until you do.

        Your message opens ready to edit. Nothing is sent automatically.

        What it takes into account and sources

        References · 6 primary sourcesView the full citationsHusband et al. 2024 · Chartogne et al. 2023 · Bonfatti et al. 2024 · Ruby and Hull 1993 · Disley and Li 2014 · Silberman et al. 2005

        Primary sources and position statements the method on this page relies on.

        1. Husband, S. P., Wainwright, B., Wilson, F., Crump, D., Mockler, D., Carragher, P., Nugent, F. and Simms, C. K. (2024). Cycling position optimisation: a systematic review of the impact of positional changes on biomechanical and physiological factors in cycling. Journal of Sports Sciences.
        2. Chartogne, M., Millour, G., García-López, J., Duc, S., Rodríguez-Marroyo, J. A., Pernía, R. and Bertucci, W. (2023). Acute effects of small changes in antero-posterior shoe-cleat position on physiological and biomechanical variables in road cycling. Sports Biomechanics.
        3. Bonfatti, M., Bizzoni, E., Gennari, A. and Salvioli, S. (2024). The effect of cleat position on foot pain in cyclists. The Journal of Sports Medicine and Physical Fitness.
        4. Ruby, P. and Hull, M. L. (1993). Response of intersegmental knee loads to foot/pedal platform degrees of freedom in cycling. Journal of Biomechanics.
        5. Disley, B. X. and Li, F. X. (2014). The effect of Q factor on gross mechanical efficiency and muscular activation in cycling. Scandinavian Journal of Medicine & Science in Sports.
        6. Silberman, M. R., Webner, D., Collina, S. and Shiple, B. J. (2005). Road bicycle fit. Clinical Journal of Sport Medicine.
        What it takes into account

        • Your metatarsal line. The line joining the first metatarsal head to the fifth is oblique, not perpendicular to the foot, and it is the anatomical reference the fore-aft position is built on. If you have not measured the two heads yet, they are estimated from the length of your foot and the result says so: measuring them raises confidence.
        • Your discipline, your priority and your symptom. They move the window backwards or forwards. Triathlon and time trial sit further back than road, and a symptom consistent with forefoot pressure moves the cleat back too.
        • The length of each foot. A long foot and a short one cannot share the same figure in millimetres, so the window scales with each foot separately.
        • Your natural foot angle and your pedal system. They set the starting rotation, the float you have left on each side and the warnings when the cleat track runs out.
        • Your forefoot width. Crossed with your foot angle, it warns you when the heel may rub the crank or when you need pedal axle extenders.

        What is published is the direction (moving the cleat back relieves the forefoot and unloads the calf) and the fact that the margin is wide. That is why the result is a band, and why fore-aft confidence does not rise above medium however well you measure.

        Why the result is a band and not a figure

        The systematic review by Husband and colleagues (2024) analysed 47 studies on cycling position and concluded that, unlike saddle height, there are no clear recommendations for cleat position, crank length or Q-factor. That is the real state of the evidence, and a calculator returning an exact figure would be inventing a precision nobody has published.

        There is one more reason, which is that the margin appears to be wide. Chartogne and colleagues (2023) moved the cleat 15 mm forward and 15 mm back relative to the first metatarsal head in twelve competitive cyclists: they found no differences in physiological variables, pedalling kinetics, activity of six muscles, perceived exertion or performance in a 10 s sprint. What did change was hip, knee and ankle kinematics, with less knee extension in the forward position. Put precisely: in that protocol (twelve cyclists, submaximal efforts and a short sprint) no significant differences in performance were detected, and joint angles did change. Finding no difference in twelve people does not prove there is none in yours, nor does it say anything about the effect of months of pedalling; and changing angles does not demonstrate fewer injuries either. The study does not establish the optimum individual position.

        Rotation and stance width

        Rotation follows the foot: your natural foot angle sits at the centre of your system’s float travel, so the foot has margin to both sides. The margin matters: Ruby and Hull (1993) compared four foot-pedal interfaces and found that those allowing rotation significantly reduced axial and varus-valgus moments at the knee, without increasing any other load. Pure mediolateral translation, by contrast, changed nothing.

        Stance width is the variable worst estimated from a sheet of paper, and that is why its confidence never rises above “needs checking”: here it only warns you about the heel and the cleat track. Disley and Li (2014) compared four Q-factors in 24 cyclists and found only a marginal gain in mechanical efficiency with the narrowest ones, without individualising by hip width. That is far too little to move anyone towards a width their hips are not asking for.

        Why the cleat can be moved by hand

        The drawing is to the scale of your measurements, with the pedal axle at the origin of the piece that moves. Dragging it shifts fore-aft and stance width at once, and the three sliders do the same from the keyboard, one degree and half a millimetre at a time. The cleat rotates with the foot angle, and the faint fan spreading towards the toe is your system’s float, the margin the foot has left on each side before releasing.

        Moving it matters because the recommended range is wide and within it you have to choose, and a position is understood far better by seeing it land on the foot than by reading “22 mm behind M1”. When what you choose falls outside the range, the axle is drawn dashed and below it says which way you went and what that implies. The tool does not stop you; it tells you where you are.

        When it is worth measuring

        • When the knee is what matters. The measurement that decides stance width and much of the rotation is knee tracking seen from the front, under load and with fatigue. That cannot be deduced from the shape of the foot.
        • Home measurements carry error. Palpating a metatarsal head and transferring it to the shoe easily drifts three or four millimetres, and that error goes straight into the result. That is why the band returned is as wide as it is.
        • A difference between feet is not a diagnosis. One foot being 8 mm longer does not mean the leg is, or that anything needs compensating. It means it should be looked at while pedalling before any correction is fitted.
        • It does not replace wedges or insoles. A forefoot tilted relative to the rearfoot is assessed in examination, not on a sheet of paper, and a badly placed wedge creates the problem it was meant to solve.
        • Dragging the cleat on screen is not measuring it on the shoe. The drawing works with the length, the width and the two metatarsal heads you declared, not with your shoe’s actual last or your sole’s actual slot. It is for understanding the position and deciding it; transferring it to the sole is done with the M1 and M5 marks and a ruler.
        • The data for each pedal system is approximate. The float declared by colour is reliable; longitudinal and lateral travel depend on the shoe, the plate and the cleat generation. Check yours before taking a “does not reach” warning at face value.

        In a BIKEFIT 3D the cleat is adjusted side by side, with knee-path tracking, and validated in motion. See BIKEFIT 3D →

        Cleat alignment with a laser guide during a BIKEFIT

        When an estimate is no longer enough

        This tool has never seen your knee from the front.

        Fore-aft and rotation can be estimated from the anatomy of the foot at rest, and that is what this page does. Real stance width, knee tracking under load and what each side compensates for only appear while pedalling and recording. In a BIKEFIT 3D the cleat is adjusted side by side, with knee-path tracking, and validated in motion.

        See BIKEFIT 3D
        ONEPERFORMANCE FINDER
        Your next step starts here