
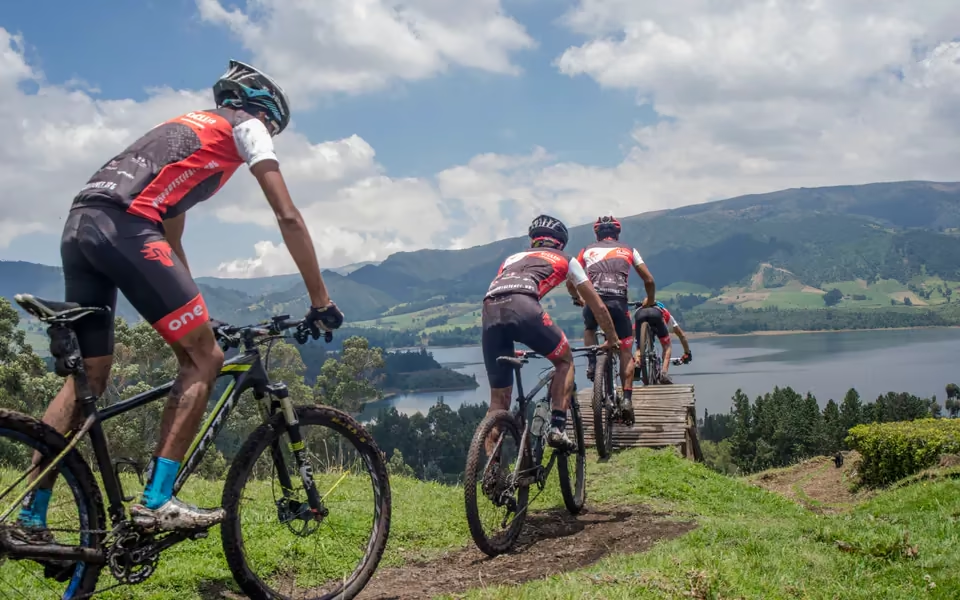
MTB training on loose ground, where pressure decides traction

Summary

Tyre pressure

Free calculator · Equipment and gearing

Front and rear pressure from your weight, tyre width and surface, using the 15 % tyre drop method and its real limits.

What you need
Your weight with kit and bike, the weight distribution between axles, the real width of the mounted tyre — not the one printed on the sidewall — and the surface you ride on.
What it gives you

Front and rear pressure separately, which is exactly where a single figure fails.

The 15 % tyre drop method explained, with the assumption it makes.

The ceiling imposed by the tyre and rim manufacturers, which overrides everything above.

What it does not do

The 15 % drop is a model, not a measurement of your wheel: the final pressure is tuned by riding the same terrain twice. And never above what the tyre and the rim allow, even when the arithmetic permits it.

5.0 on Google from 60 public reviews, verifiable on the laboratory listing.
All calculators

Free tool

Tyre pressure calculator

Pressure does not depend on the maximum printed on the sidewall: it depends on how much weight each wheel carries and how wide the tyre is. Front and rear do not take the same pressure because they do not carry the same load, and this calculator separates them.

It runs in your browser. Nothing is sent, nothing is stored and no sign-up is needed. If you use the buttons below the calculator, the message is written here and opens in your own app: you decide whether to send it.

Calculator

The complete system

With kit and helmet on, which is how you ride.

With bottles, bag and everything that is fitted.

The measured width with a caliper, not the printed one. A 28 tyre on a wide rim really measures 30 or 31 mm, and that difference changes the pressure. In inches: 2.1 ≈ 53 mm, 2.25 ≈ 57, 2.4 ≈ 61 and 2.6 ≈ 66.

Enter the lower maximum specified by the tyre and rim manufacturers. Without it, this tool does not know your setup’s limit.

A supple casing sinks more at the same pressure, so it asks for a little more air for the same drop. A reinforced one, the other way round.

Without a tube the pinch flat risk disappears, so pressure can be lowered.

Most are limited to 5 bar / 72.5 psi. Going above that can blow the tyre off the rim.

Starting point

Before you inflate

    How to tune it by riding

    1. Head out with these values on a route you know well.
    2. If it bounces and punishes your hands and back, drop 0.2 bar (3 psi) at a time.
    3. If the tyre feels soft in corners or you hit the rim on a pothole, add 0.2 bar.
    4. Change one axle at a time, or you will not know which one improved.
    5. Check before every ride: a tubeless tyre loses pressure on its own overnight.

    Take the result with you

    Send us this calculation and we will tell you what to do with it.

    The button writes the message for you: what you entered, what came out and the name of the tool. It opens in your own app, already written, and you decide whether to send it. Nothing leaves this page until you do.

    Your message opens ready to edit. Nothing is sent automatically.

    Method and sources

    References · 3 primary sourcesView the full citationsHeine 2007 · Grappe et al. 1999 · Bertucci et al. 2013

    Primary sources and position statements the method on this page relies on.

    1. Heine, J. (2007). Optimizing your tire pressure for your weight. Bicycle Quarterly.
    2. Grappe, F., Candau, R., Barbier, B., Hoffman, M. D., Belli, A. and Rouillon, J.-D. (1999). Influence of tyre pressure and vertical load on coefficient of rolling resistance and simulated cycling performance. Ergonomics.
    3. Bertucci, W. M., Rogier, S. and Reiser, R. F. (2013). Evaluation of aerodynamic and rolling resistances in mountain-bike field conditions. Journal of Sports Sciences.
    The starting point is Frank Berto’s 15 % tyre drop method: the correct pressure is the one at which the tyre sinks 15 % of its height when you sit on the bike. Below that, the tyre deforms too much and you lose energy; above it, it bounces over irregularities and you lose energy too, as well as grip. On top of his data, the fit published by Dave Adams is used, which expresses pressure as a function of the load on each wheel and the tyre width. Berto's table was published in Bicycle Quarterly, in the article written by Jan Heine (2007) and reviewed by Berto himself; that is the source to check any number on this page against.

    That rolling resistance depends on both pressure and the weight each wheel carries is not the method's doing: it has been measured. Grappe and colleagues (1999) crossed five pressures with four vertical loads and measured the coefficient of rolling resistance for each combination, because the loss comes from the hysteresis with which the tyre deforms and both things change it. Hence the calculation here enters through the load on each axle and not through your total weight: that is the variable that was measured.

    Load is distributed according to discipline, because posture moves the centre of gravity. The more stretched out you are, the more weight reaches your hands and the front wheel: that is why road splits 40 / 60 here — the figure Berto used — and mountain, more upright, 36 / 64. Then two corrections are applied: less pressure on irregular surfaces, and less with a tubeless setup, where the pinch flat that forces you to keep a margin does not exist.

    Of those splits, road's 40 / 60 is the only published one: it sits in the same Heine and Berto table, next to 45 / 55 for a randonneur and 35 / 65 for a city bike. Gravel and mountain are interpolated between those two ends, and the two corrections are workshop convention, not measurements of your bike. The real split depends on your position, where your hands are and the frame geometry, and it moves several points between the tops and the hoods. They order the result between axles; they are not an exact figure.

    What was refined to sharpen the number

    Three things go into the calculation that almost no calculator asks about. The real width, measured with a caliper and not read off the sidewall: the same 28 tyre on a wide rim measures 30 or 31, and in the formula width is raised to the power of 1.58, so that extra millimetre drops the pressure more than it looks. The casing, because a supple one sinks more at the same pressure and asks for a little more air for the same drop. And the surface, which is what separates riding tarmac from riding dirt: Bertucci and colleagues (2013) measured aerodynamic and rolling resistances for a mountain bike in field conditions and made it clear that the surface is a first-order variable, not a nuance. The selector's three coefficients are still workshop figures; what is measured is that the surface weighs enough to belong in the calculation.

    The result comes as a tuning band, not an exact figure: ±3 %, which is roughly what your own gauge may be lying to you by.

    Gravel and mountain bike

    The calculation is the same and the selector now carries each discipline's widths, up to 2.6 inches. Worth knowing: extrapolating above 40 mm is the model's doing, not Berto's original data, which was measured on far narrower tyres. For a 29 × 2.25 tubeless it gives 18 to 22 psi depending on weight, which is where practice sits, but down there the safety floor matters more than the formula: that is the zone where you strike the rim and unseat the tyre.

    Where it stops working

    • Berto’s data is from the nineties. It was measured on tyres far narrower than today’s. From 32 mm upwards the reference becomes less and less reliable, and it is better treated as a ceiling to come down from than as a target.
    • The front comes out considerably lower than the rear.That is not a bug: the front wheel carries much less weight. Even so, many riders prefer to narrow that difference for cornering grip and for margin against a pothole. Both readings are shown below.
    • Casing matters and is not in the formula. A supple tyre deforms more than a stiff one at the same pressure.
    • The top half of the curve is measured worse than the bottom half. That overshooting the pressure makes you lose energy to bouncing on real surfaces is the observation the method rests on, but there is no field measurement for it as solid as the one for rolling resistance. If you are torn between two figures, the lower one has more behind it than the higher one.
    • The sidewall and the rim always win. No calculation can exceed the manufacturer’s maximum or a hookless rim limit.
    MTB training on loose ground, where pressure decides traction

    When the formula is no longer enough

    Pressure is the last link, not the first.

    If you are uncomfortable, your hands go numb or you lose traction on the ramp, pressure may be part of the problem but it is rarely all of it. The geometry of your position and the weight distribution between axles come first.

    See BIKEFIT 3D
    ONEPERFORMANCE FINDER
    Your next step starts here